 Sunny's visiting Savannah, GA, this weekend to get away from snowy, snowy Boston. I'm using this quality time to try out various homebrew concoctions, including two different kinds of infused vodkas. Over the last ten years, many bars and distilleries realized the truth: vodka doesn't really taste like anything. Many people already used it for cocktails, something I do myself, but you can add real zest to the drink itself by going the extra mile and giving it an innate flavor.
"Infusing" typically means soaking something in the vodka for a long time, even a month or two, and adding some sugar or simple syrup for sweetness. You then strain out whatever you flavored it with and transfer the final product to a bottle for later consumption.
I've been sitting on the infused vodka idea for quite a while, but it really doesn't take long to make a reality. You only need six things for the task.
1. 750ml of vodka
2. Thing to infuse
3. Cup of sugar (if creating a syrup)
4. Pan
5. Airtight container, such as a pitcher, a to store the vodka in for the "soak" stage
6. A good strainer, such as cheesecloth.
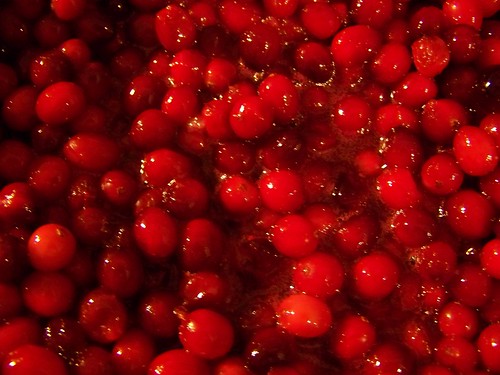
I made two flavoring syrups, one with cranberries and one with blueberries. Fresh berries would be ideal, but I used bags from the store freezer case. Simply cook them in the pan with sugar over medium heat until both combine and get gooey. (The cranberries looked like the picture above.) You might be tempted to make pancakes and pour the contents of your pan on it. Resist this temptation! Your vodka is all about patience, a virtue even nobler than quality breakfast foods.
Once complete, pour the sticky mess into the container and add the vodka. Seal the top and store it somewhere that'll stay warm, at least at room temperature. (I've been told sunlight is good for the process, so perhaps a window sill?) Wait anywhere from a week to a month for everything to settle and combine. Once you can't wait anymore, open the container and check the flavor. If it's too sharp or sour, add simple syrup to taste. I go for something pleasant that could stand alone in a glass. Otherwise, why do all the work? Finally, pour the sweet ensemble through the strainer back into the bottle so you have nothing but the re-purposed vodka. (This might take several filterings.) Some people switch to a decorative jar and give away the end result. I would totally accept that kind of gift.
Our Flickr account includes a slideshow of the cooking process with some commentary.

